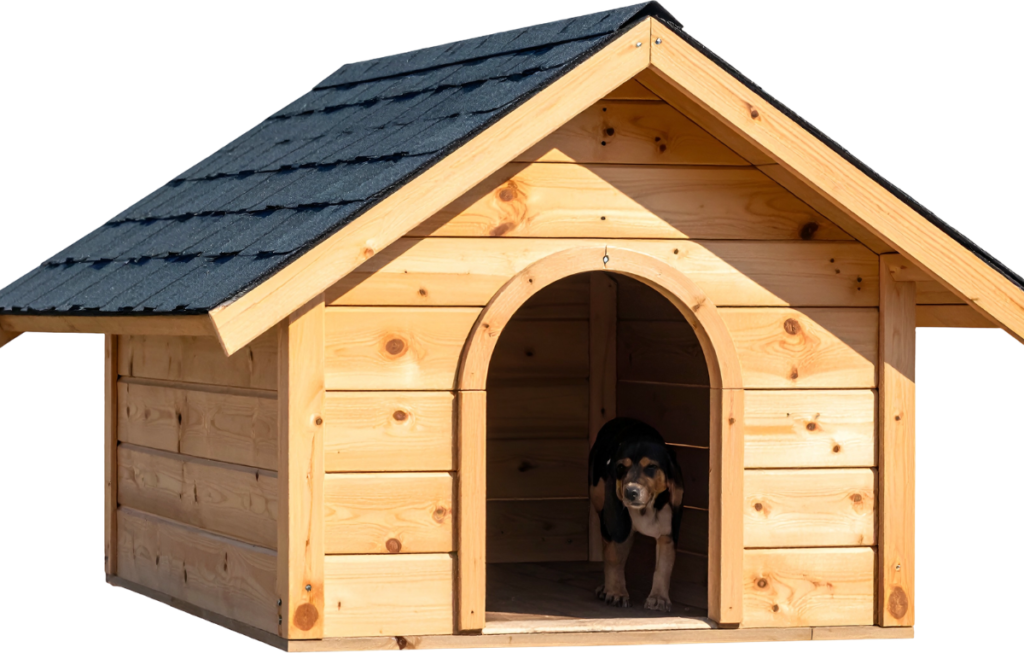
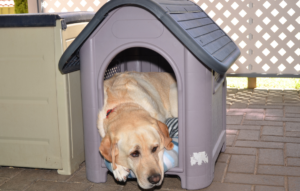
No matter how much your dog loves to play in the rain, sometimes they need a dry place to sleep. I knew my pup needed more protection than the doghouse I bought him. Water was still getting in, the floor was always wet, and he definitely wasn’t happy.
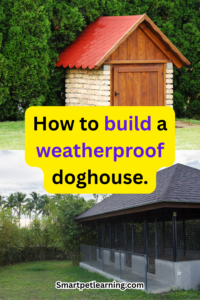
That’s when I decided to learn how to build a waterproof DIY dog house from scratch. And trust me when I say this—if you build your dog a house the right way, they will love you forever. The benefits of a properly built dog house are endless. Your dog will have a safe, dry place to go when it rains. Plus, if you build it to their specifications, they’ll actually enjoy spending time in it.
Let’s take a look at what it takes to build your pup the perfect dog house.
What I love most about this project is that you can do it yourself. You don’t need to hire someone else to build a dog house for your furry friend. As long as you have the materials and a solid plan, you can make this work.
Why Waterproofing Is So Important
You would be surprised how many DIY dog houses fall short.
What happens when a doghouse isn’t waterproof?
- Rain leaks through the roof
- Moisture accumulates inside
- Mold can grow
- The floor becomes wet and cold
Dogs can become miserable very quickly if they’re spending time in a leaky dog house.
This is why it’s so important to learn how to build a waterproof dog house from scratch.
Step 1: Pick the Perfect Spot
First things first: location, location, location.
You want to build your dog’s house in a spot with a slight incline. Nobody wants water pooling underneath the house.
Also, try to avoid areas where runoff flows toward the structure.
Ideally, pick a location that isn’t overly windy but still provides some shade.
Step 2: Plan the Size Appropriately
When thinking about how to build a waterproof dog house from scratch, remember this:
Bigger is not always better.
Size the house so your dog can stand up, turn around, and lie down comfortably. Anything larger can make it harder to retain heat.
Step 3: Gather Your Materials
Now comes the fun part—what you’ll need.
You don’t need anything too fancy, but if you want your dog house to last, invest in quality materials.
Start with:
- Pressure-treated wood (for the base)
- Plywood sheets
- 2x4s (for framing)
- Screws or nails
- Roofing material (shingles or metal sheeting)
- Waterproof sealant
- Wood glue
Bonus materials:
- Foam insulation
- Rubber or plastic flooring
- Hinges (for a removable roof)
Step 4: Create a Raised Base
Do NOT build the floor directly on the ground. Unless you want your dog’s house to stay wet, you need to raise it.
Use pressure-treated wood and create a base with legs that lift the structure off the ground.
Step 5: Build the Floor
Cut your plywood to size and secure it to the base frame.
Apply sealant to all edges to create a waterproof barrier.
Pro Tip: Add a rubber mat or waterproof liner on top for extra protection.
Step 6: Frame the Walls
Now it’s time to build the structure.
- Use sturdy 2x4s
- Make sure all corners are square
- Ensure all joints are tight
Pro Tip: Plan for a slanted roof while framing.
Step 7: Install the Walls
Attach the wall frames to the base.
Use plywood for the walls and seal all seams thoroughly.
Pro Tip: Apply waterproof sealant to both the interior and exterior.
Step 8: Create an Adequate Entrance
The entrance is the most common place for water to get in.
- Make the entrance slightly higher than the floor
- Keep it just large enough for your dog
- Avoid placing it where wind and rain hit directly
Pro Tip: Add a rubber or plastic flap to block rain.
Step 9: Build the Roof
The roof is your first line of defense.
Roof tips:
- Use a slanted or A-frame design
- Start with plywood, then add shingles or metal
Step 10: Waterproof the Roof
This step is crucial.
- Apply roofing materials properly
- Seal all edges inside and out
- Add an overhang to direct water away
Pro Tip: Extend the roof 1–2 inches beyond the walls.
Step 11: Seal Everything
Even if you think you’ve done enough, go back and check every seam and corner.
Apply outdoor sealant generously.
Waterproofing is a critical part of building a waterproof dog house.
Step 12: Insulate (Optional)
Adding insulation can help retain heat.
Use foam boards or insulation panels.
Pro Tip: Ensure your dog cannot access the insulation.
Step 13: Paint or Finish the Exterior
Painting adds another layer of protection.
Use outdoor-safe paint and don’t forget the roof.
Step 14: Add Ventilation
You don’t want the dog house completely sealed.
Add small ventilation holes near the top—but not so many that rain can get in.
Step 15: Test It Out
Finally, your dog house is complete!
- Use a hose to check for leaks
- Test stability
- Make sure your dog is comfortable
It’s much easier to fix issues now than later.
Conclusion
Building a waterproof dog house from scratch might seem overwhelming at first, but once you break it down, it’s completely manageable.
Take your time—especially with sealing and waterproofing.
At the end of the day, you’re doing this for your dog. Giving them a dry, comfortable place to rest is worth every bit of effort.
Build it right, and you’ll get years of use out of it—and a very happy dog.
Save pin for later.

- Dog Nutrition Guide for Better Health and Energy - May 23, 2026
- How to Keep Your Cat Healthy and Active at Home - May 17, 2026
- Dog Health Tips for Indoor and Apartment Living - May 17, 2026