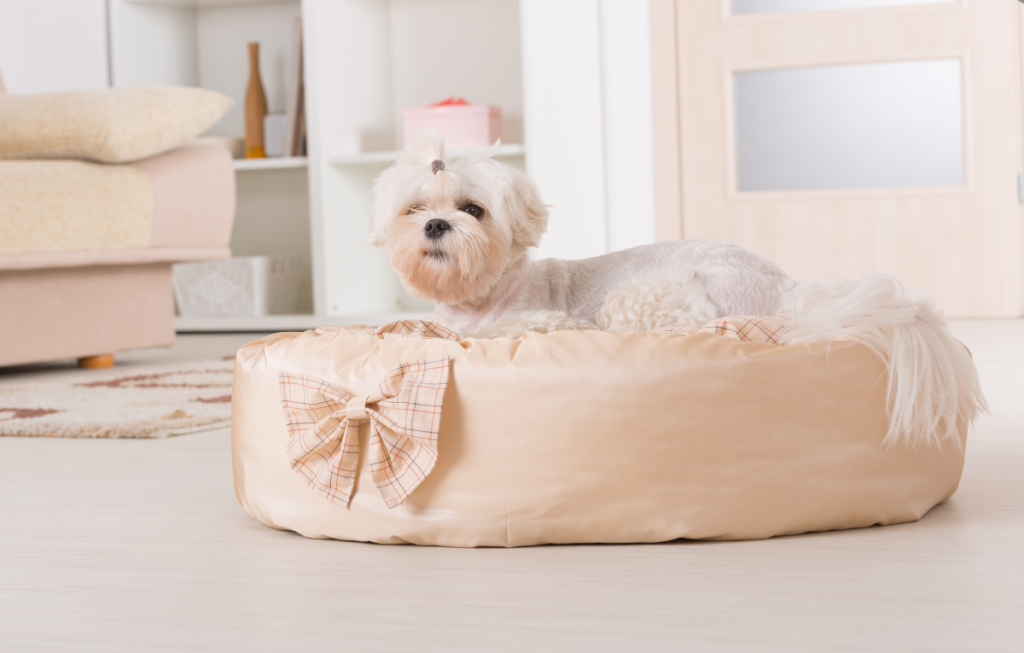
Creating the perfect spot for your pup to lounge is incredibly rewarding as a pet parent. That’s why I wanted to compile this ultimate guide on how to make a DIY dog bed that is both cozy and stylish. Purchasing a bed from the store can get pricey, and they almost always lack that handmade touch to match your home’s aesthetic.
Trust me—you have what it takes to build your dog a comfortable and adorable new bed. All you need is a few supplies and love for your four-legged companion.
Materials Needed to Make Your Own Dog Bed
Gathering everything in advance will make the building process hassle-free. Here’s what you’ll need:
Fabric
You’ll want a fabric that is durable yet comfortable. Canvas, denim, fleece, and even outdoor fabric work great. If you have a dog that loves to chew or scratch at their bed, opt for something heavy-duty like canvas or upholstery fabric. For dogs that aren’t destructive and for extra coziness, fleece is always a winner. Pick your favorite color or pattern to match your living space.
Stuffing or Filling
This can be polyester fiberfill (sold at most craft stores), old pillows or blankets you already have at home, or cut-to-size pieces of foam. Memory foam scraps work especially well if you have an older dog or one with joint pain, as they provide more support and cushioning.
Thread and Needle or Sewing Machine
A sewing machine will speed up the process, but you can absolutely hand-stitch your dog bed if needed. Just make sure to use strong polyester thread for durability.
Scissors or Fabric Cutter
You’ll be doing a lot of cutting, so use whichever tool you’re most comfortable with. I recommend heavy-duty fabric scissors.
Measuring Tape and Fabric Chalk or Pins
You’ll need to take your dog’s measurements before cutting any fabric. Chalk or pins are useful for marking where to cut.
Zipper or Velcro Closure (Optional)
Adding a liner with a zipper or Velcro makes cleaning much easier. I highly recommend this, especially if you plan to use the bed outdoors or want easy washing.
Why Should You Make Your Own Dog Bed?
Before we jump into the building process, here’s why I love DIY dog beds. Buying one from a store often means settling for limited sizes, materials, colors, and sometimes questionable quality. You never quite know what you’re going to get—you might end up with a high-quality bed that lasts years or one that falls apart in weeks and smells strongly of plastic.
Making your own dog bed allows you to choose the size, shape, fabric, stuffing, and overall look you want.
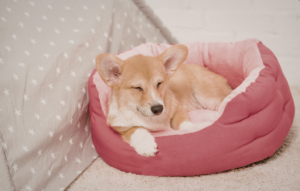
I’ve made dog beds in the past, and each one has turned out better than the last. Not only do I love how they look, but my dog actually prefers them to store-bought beds. That alone says a lot. There’s also nothing more satisfying than watching your furry friend curl up and fall asleep on something you made from scratch.
If you were unsure before, I hope this motivates you to create a bed your pup will love.
How to Measure Your Dog for a Dog Bed
The biggest mistake you can make when building a dog bed is not knowing what size to make. Guessing can lead to a bed that’s too small or too large.
To avoid this, measure your dog before cutting any materials. Have them lie down in their typical sleeping position. Once they settle, measure from nose to tail if they stretch out while sleeping.
Add about six to eight inches to each side to determine the width. If your dog curls into a ball, measure the diameter of their body in that position and add a few extra inches.
Write down your measurements and keep them nearby while cutting your fabric.
How to Make a Dog Bed: Step-by-Step Instructions
Cut Your Fabric Panels
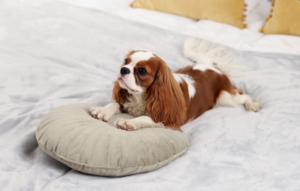
Measure and cut two rectangles or ovals of fabric for the top and bottom of the bed. If you want a bolster-style bed, cut additional strips for the side walls.
Pin Your Panels Together
Place the panels together with the right sides facing inward. Pin the edges together.
Sew Around the Edges
Sew around the edges, leaving about 10–12 inches open. This gap will allow you to turn the fabric right-side out and insert the filling. Keep your stitches tight and secure to prevent tearing.
Turn It Right-Side Out
Turn the fabric through the opening. Push out the corners using a pencil or similar tool.
Fill It with Stuffing
Add your filling until you reach the desired thickness. Slightly overstuffing is a good idea, as the filling will settle over time.
Close the Opening
Fold in the edges of the opening and sew it shut by machine or hand. For easier cleaning, you can install a zipper or Velcro instead.
Embellish
Add personal touches like trim, your dog’s name, or fabric paint to make the bed unique.
Tips to Make Your Dog Bed Last Longer
With proper care, your dog bed can last for years. Here are some helpful tips:
Wash It Regularly
Dog beds collect dirt, dander, fur, and odors. Wash the bed every 1–2 weeks to keep it fresh. A removable cover makes this much easier.
Check the Seams
Inspect the seams every few weeks. Repair any loose stitches or small holes promptly to prevent larger damage.
Restuff When Needed
Over time, the filling will flatten. If your bed has a removable cover, you can easily add more stuffing as needed.
Choose the Right Location
Where you place the bed matters. Dogs prefer secure, cozy spots. Avoid busy areas or drafty locations, and instead place the bed in a quiet corner.

FAQ
Can I make this without a sewing machine?
Yes, you can hand-sew the bed using a needle and thread. It will take longer but produce similar results. As an alternative, fabric glue can be used, though it won’t hold up as well during washing.
What is the best stuffing to use?
Polyester fiberfill is a popular choice because it’s affordable, accessible, and washable. For more support, especially for older dogs, consider memory foam.
How do I stop it from sliding around?
You can sew or glue a non-slip rubber shelf liner to the bottom to keep the bed in place.
How long does it take to make?
Simple cushion beds can take as little as one hour, while more complex designs like bolster or donut beds will take longer.
Conclusion
I hope you found this guide helpful in learning how to make your own dog bed. There are so many materials and design options to explore—from choosing the right fabric and filling to assembling everything together.
My goal was to give you enough information to get creative and make a bed that truly suits your dog. Your pup will love their new cozy space, and you’ll love not having to spend a fortune on a store-bought bed.
Save pin for later


- Dog Nutrition Guide for Better Health and Energy - May 23, 2026
- How to Keep Your Cat Healthy and Active at Home - May 17, 2026
- Dog Health Tips for Indoor and Apartment Living - May 17, 2026