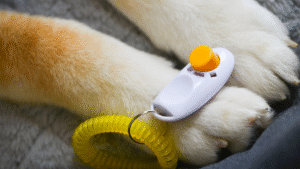
Clicker training is an effective and positive way to teach your dog new behaviors. It’s based on the principles of operant conditioning — using a distinct sound (the “click”) to mark the exact moment your dog does something right and then giving them a reward.
This helps your dog clearly associate a specific behavior with earning a treat, making learning new commands or tricks faster and more enjoyable.
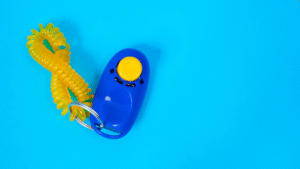
Commercial clickers are affordable and easy to find, but you may not always have one on hand, or you might simply enjoy DIY projects. The good news is that making your own clicker for dog training is quick, inexpensive, and just as effective as a store-bought one.
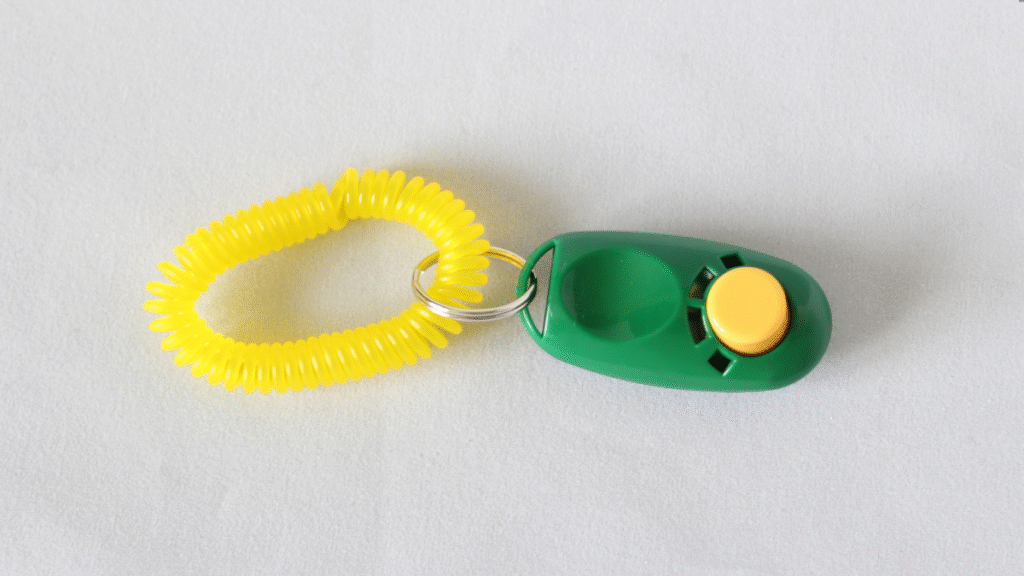
What Is a Clicker and Why It Works
A clicker is a small handheld device that makes a sharp, consistent clicking noise when pressed. The sound marks the precise moment your dog performs the desired behavior — such as sitting, lying down, or coming when called.
When you pair that click with a reward (usually a small treat), your dog learns that the sound means, “Yes, that’s correct!” and that a reward is coming soon. Over time, the click becomes a powerful communication tool between you and your dog.
Clicker training is so effective because it provides:
-
Precision: The click marks the exact behavior, unlike verbal praise, which can vary in tone or timing.
-
Consistency: The sound of the click is always the same, so there’s no ambiguity.
-
Positive reinforcement: It focuses on rewarding good behavior rather than punishing bad behavior.
-
Improved communication: Dogs quickly understand that the click means they’ve done something right, making learning faster and less stressful.
Why Make Your Own Clicker?
Even though commercial clickers are inexpensive, there are several good reasons to make your own dog training clicker:
-
Convenience: You can make one in just a minute or two using items you likely already have at home.
-
Customization: You can adjust the sound — softer or louder — depending on your dog’s sensitivity.
-
Budget-friendly: It costs next to nothing to make a DIY clicker.
-
Sustainability: You can repurpose materials that might otherwise be thrown away.
Making your own dog clicker is simple and requires only a few household items.

Materials You’ll Need
To make a simple and effective dog training clicker, you can use several household materials. Here are some popular options:
-
Metal jar lid (e.g., from a mason jar or bottle cap)
-
Plastic bottle top or pen cap
-
Snap-top lid from a drink bottle (e.g., water or soda bottle)
-
Old ballpoint pen with a clicking mechanism
-
Small metal strip (e.g., from a tin can or soda can tab)
You may also need:
-
Scissors or pliers (for shaping or cutting)
-
Tape (optional)
-
A small piece of cardboard (optional, for reinforcement)
-
A rubber band or keychain ring (optional, to attach it to your wrist or leash)

Step-by-Step: How To Make a Simple DIY Dog Clicker
Option 1: The Metal Jar Lid Clicker
This is one of the easiest and most effective homemade clickers.
Materials:
-
A clean metal jar lid (such as from a jam or sauce jar)
-
A small piece of sturdy cardboard or plastic (optional)
-
Tape or glue (optional)
Instructions:
-
Press the center of the jar lid down slightly so that when you press and release it, it makes a popping sound.
-
Use the cardboard or plastic to reinforce the underside, making it easier to press and helping it retain its shape.
-
Test it by pressing in the middle to ensure it makes a clean, crisp “click” sound.
-
Cover the edges with tape if they feel sharp.
-
(Optional) Attach it to a rubber band or string so it’s comfortable to hold during training.
Option 2: The Pen Clicker
This is the simplest option, as you only need an old pen that already makes a clicking sound.
Materials:
-
A retractable ballpoint pen
Instructions:
-
Choose a pen with a click-top mechanism that makes a distinct noise.
-
Remove the ink cartridge if you want to make it lighter.
-
Test the sound to make sure it’s sharp and consistent.
And that’s it! You now have an instant clicker that fits easily in your pocket. This method is quiet, portable, and ideal for dogs that are sensitive to loud noises.
Option 3: The Soda Can Strip Clicker
If you prefer a louder, more pronounced click, this method works perfectly.
Materials:
-
A clean aluminum soda can
-
Scissors (handle carefully)
-
Tape for the edges (optional)
Instructions:
-
Cut a small rectangular strip of aluminum, about 1×2 inches.
-
Bend it slightly so that it pops when you press down in the center.
-
(Optional) Tape the edges to cover any sharp areas.
-
Test it to ensure it makes a strong clicking sound.
-
(Optional) Mount the strip onto a piece of cardboard or an old keychain for easier handling.
Testing Your Homemade Clicker
Before using your new clicker with your dog, test it a few times. The sound should be:
-
Distinct (not muffled)
-
Consistent (the same volume each time)
-
Comfortable for your dog (not too loud or sharp)
Watch your dog’s reaction. If they seem startled or uneasy, choose a softer clicker such as a pen or small plastic lid version. The goal is to make the sound clear but not frightening.
How To Use Your DIY Clicker in Dog Training
Now that you’ve made your clicker, it’s time to start using it!
1. Charge the Clicker
Before training, you need to “charge” the clicker — that is, teach your dog that the sound means a reward is coming.
-
Click once, then immediately give your dog a treat.
-
Repeat 10–15 times.
-
Soon your dog will look expectantly for a treat after each click — this means they’ve learned the association.
2. Start With Simple Commands
Begin with basic commands like sit, stay, come, or down.
-
Wait for your dog to perform the desired behavior (or guide them with a treat).
-
The instant they do it, click once.
-
Immediately follow the click with a treat.
Timing is crucial — the click must happen the exact moment the correct behavior occurs.
3. Gradually Add Cues
Once your dog understands that, for example, sitting earns a click and a treat, start saying “Sit” right before they perform the behavior. Soon, they’ll associate the word with the action.
4. Fade Out the Clicker Over Time
As your dog becomes more consistent, gradually reduce your use of the clicker. Eventually, you’ll only need it occasionally, replacing it with verbal praise and occasional treats.
Tips for Success with Your Homemade Clicker
-
Keep sessions short: Dogs learn best in 5–10 minute sessions.
-
Be consistent: Always follow a click with a treat, especially in the beginning.
-
Click once: Multiple clicks can confuse your dog and weaken the association.
-
Stay positive: Clicker training focuses on rewarding good behavior, not punishing mistakes.
-
Use high-value treats: Small, soft, and tasty treats will keep your dog motivated.

Safety and Comfort Considerations
When using metal or aluminum materials, always:
-
Tape down or file away any sharp edges.
-
Ensure your clicker is sturdy enough not to bend or break during use.
-
Keep it out of your dog’s reach — they might try to bite or play with it.
If your dog is sensitive to sound:
-
Wrap tape or cloth around the clicker to muffle it slightly.
-
Use a softer pen clicker or even a tongue-click sound as an alternative.
Alternatives to DIY Clickers
If your homemade clicker doesn’t produce the sound you want or you’d like an easier option, try these alternatives:
-
Snap-top water bottle cap: Pressing and releasing it makes a click-like sound.
-
Toy with a popping sound: Many small toys have this feature.
-
Mobile app clicker: Available for Android and iOS devices.
These can work just as well for short-term or casual training sessions.
Final Thoughts
Making your own clicker for dog training is not only easy but also a fun way to begin positive reinforcement training. Whether you use a recycled pen, soda can strip, or jar lid, the key lies in the sound and timing, not the device itself.
The real success comes from your ability to mark behaviors consistently and reward your dog appropriately. With a little patience, plenty of treats, and your DIY clicker, you’ll see your dog mastering new commands faster than ever — all while strengthening your bond and having fun along the way.
Save pin for later

- The Cutest Cat Breeds in the World - March 21, 2026
- Black Cat Names That Are as Mysterious and Beautiful as They Are - March 21, 2026
- Did You Know Your Dog Could Have Diabetes? - March 20, 2026