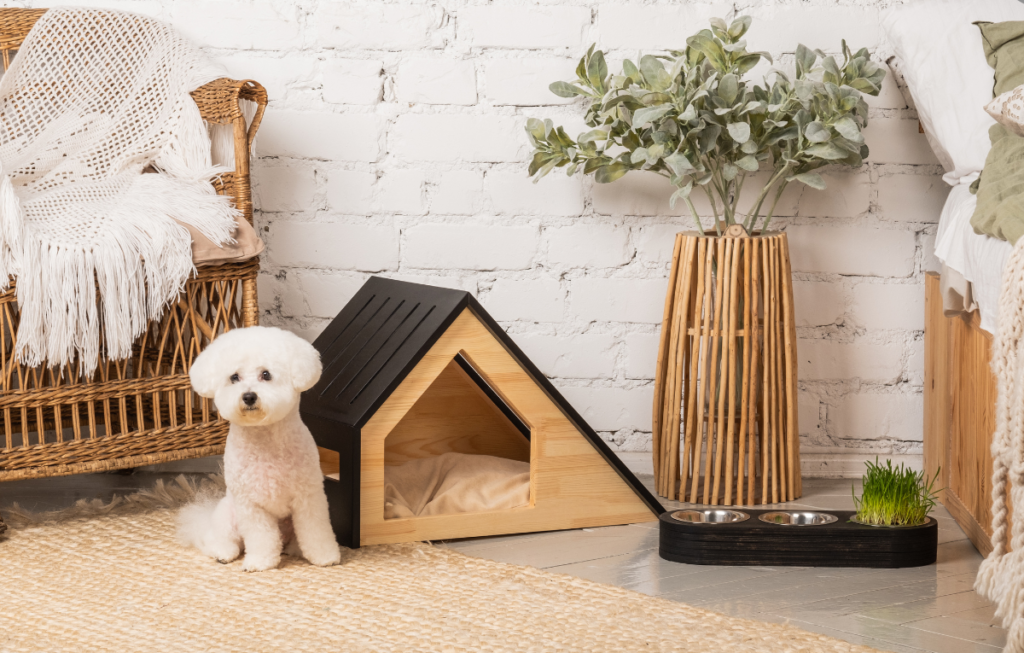
You know those moments when you watch your dog sleeping on the porch and suddenly realize they are staring up at the pouring rain through gaps in the siding? Or squinting against the afternoon sun, wishing they had somewhere cool to lay down? Yeah, I used to feel pretty guilty about those situations. Once I got past the intimidation of having to build an actual house, even I was surprised at how simple the project was.
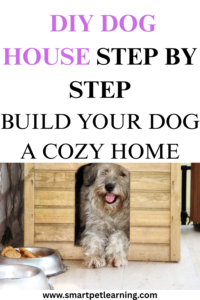
Want to know how to build the perfect DIY dog house step by step? It’s easier than you might think! You don’t need expensive tools or decades of carpentry experience to give your dog the comfort they deserve. Heck, you don’t even have to know how to swing a hammer. If you can follow simple directions and keep your dog’s best interests in mind, you’ve got everything you need to build a dog house your pooch will love. Let’s walk through everything from start to finish.

Why Should I Build a Dog House From Scratch?
Here are a few reasons why building your own dog house will be better than anything you can buy at the store.
For starters, every premade dog house is designed with one goal in mind — trying to appeal to the largest possible audience of dog owners. That almost guarantees that if your dog is significantly larger or smaller than “average,” has health concerns, or just has wildly different needs than most dogs, a prefabricated house will fall short. When you make it yourself, your dog is the sole focus. Every measurement and material can be tweaked to their individual needs.
Speaking of materials — have you priced out DIY vs. pre-made dog houses lately? Good-quality, pre-built dog houses start at around $100, and often much higher. The dog house I built cost me well under $80 in materials — and because I chose everything myself, it came out nicer and more weatherproof than any prefab house I’ve seen.
This one is purely selfish, but I absolutely love waking up every morning knowing I built something that keeps my dog happy and comfortable. There’s a bond you forge with your pet when you build with your own hands. Every time I watch my dog run over to their dog house and curl up with their blankets, I know it was worth every minute.
Gather Materials and Tools
There’s no need to run out to the store just yet! Once you’ve decided to build your dog a new home, make sure you take care of organizing and planning before you begin. Trying to build halfway through only to realize you’re missing a critical tool is incredibly frustrating.
Here is a quick rundown of the materials and tools you should collect before getting started.
Materials
- Exterior-grade plywood (Don’t settle for thinner paneling. If possible, get 3/4″ plywood for walls and flooring.)
- 2×4s for framing
- Asphalt roofing shingles or roll roofing
- Wood screws and nails (plenty of both)
- Wood glue
- Sandpaper (medium grit and fine grit)
- Exterior paint or wood sealant
- Hinges (optional — if you want an easily removable roof for easy cleaning, take the extra time now and save your back later)
- Weather stripping for the door opening
Tools
- Circular saw or hand saw
- Drill
- Hammer
- Measuring tape
- Speed square
- Level
- Marker or pencil for marking cuts
Like I said before, you don’t need every power tool known to mankind to make this work. I built mine with nothing more than a basic drill, a circular saw, and a whole lot of patience. Many hardware stores will cut plywood sheets to your specifications for a small fee if you don’t own a saw.
Measure Up
You’ll never build the perfect dog house if you don’t start with proper measurements. Nothing ruins a DIY project faster than realizing your hard work is too big — or too small — to be practical.
Take a deep breath, get out your tape measure, and note your dog’s dimensions. You’ll need:
- Height: Measure from the floor to the top of their shoulders while standing. Add 4–6 inches for interior height. The door should open to about 75% of your dog’s shoulder height.
- Width: Dogs need to be able to comfortably turn around inside their house. Measure your pup from the tip of the nose to where the tail begins. Add about 12 inches to that number for total interior width and length.
- Door: Make sure your dog will be able to easily walk through the opening without squeezing. The door doesn’t need to be wide enough to fit two dogs side by side.
Write these numbers down — and I mean on paper. You will lose the mental image after twenty seconds and need to refer back to them multiple times.
Cut and Frame the Floor
You’ll begin your dog house by laying a strong foundation — literally. Cut two 2×4s to your total length measurement and two more to your total width. Screw them together to form a rectangular frame. Then cut your plywood floor panel to size and screw it into the top of the frame.
One tip I cannot stress enough: raise your floor panel up off the ground by cutting four short 2×4s to use as corner blocks. This accomplishes two major things. First, it keeps ground-level moisture from ruining your floor. Second, it creates airspace underneath the floor panel that allows air to circulate, reducing rot and damage from years of outdoor exposure.
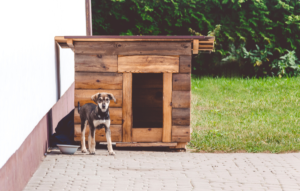
Build the Walls
Grab your plywood and cut four wall panels. You’ll need two side panels, a back panel, and a front panel. The front panel will need a door cut into it, so make that cut before you attach the panel to the house.
For added strength, create a simple 2×4 frame for each panel before adding the plywood skin. This doesn’t need to be anything fancy. A simple rectangle that matches the dimensions of your plywood sheet, with the lumber facing outward, works great. Think of it as a frame for a window — you’re then just going to nail or screw your plywood sheet to the outside of that frame. Having the inner framing gives you solid wood to drive screws into later, and it adds significant strength to your overall structure.
Screw your walls to the floor frame by driving wood screws through the bottom of each inner frame panel into your floor frame. Use your level frequently as you work to ensure everything stays square and true. A door that isn’t hung quite right is a lot harder to fix after the house is built than one you correct during this step.
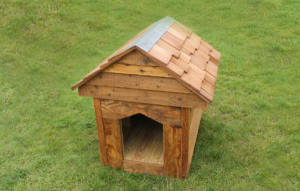
Roofing
Unless you’re planning on building a dog house that matches your home’s architectural style, roofing can be kept simple — just a standard sloped roof added to the top of your walls.
Measure and cut two peak pieces for the top of your roof. Nail or screw these pieces into place at the top of your side wall panels. Then cut two large rectangular pieces of plywood the same width as your house. These are your roof panels. Angle them to meet at the peak you just installed and secure them with screws. Apply a bead of wood glue down the center where the panels meet for extra waterproofing.
Cover your roof panels with asphalt roofing shingles or a peel-and-stick roofing material. Begin at the bottom of your roof and work your way up, overlapping each row as you go. Don’t skimp on this step. The reason shingles are overlapped on actual houses is to force water running down the roof to drip off the edges instead of infiltrating your dog house.
If you want an easily removable roof — which I highly recommend for messy dogs — add a hinge where the two roof panels meet. It’s a small extra step that will save you from hauling out a stepladder every time you need to clean out the interior.
Sand, Seal, and Paint
Mother Nature will destroy any dog house left exposed to the elements. Don’t expect plywood surfaces to last through multiple seasons unless you protect them. Start by sanding down your entire house, beginning with medium-grit sandpaper and finishing with fine grit. This not only removes stray splinters that might harm your dog but also provides a textured surface that paint and sealant can grip.
Apply at least two coats of exterior paint or wood sealant to every surface of your dog house. Don’t forget the underside of the floor or the inside of the door opening! Allow ample drying time between coats. Choose a paint color that complements your home’s exterior. You’re not just painting a dog house — you’re painting your dog’s home. Pick something you’ll enjoy looking at every time you walk by.
Add Bedding and Insulation
You’ve built the walls. Now it’s time to think about how to make your dog house feel cozy for your pet. If you live in an area with harsh winters or hot summers, insulation is well worth considering. Cutting thin foam insulation board to size and fitting it inside your walls and beneath your house floor will make a surprising difference in temperature regulation. Cover it with a thin plywood sheet to prevent your dog from chewing through it.
Add weather stripping around the interior edges of the door frame to minimize drafts. You can also make a simple strip curtain to hang over the door opening. Just a few overlapping strips of heavy canvas or rubber can block wind from blowing through while still allowing your dog to pass freely in and out.
When it comes to bedding material, cedar shavings are my top pick. They’re moisture-resistant, naturally scented to repel pests, and softer than most dog house flooring. Just be sure to swap them out for fresh bedding each season.
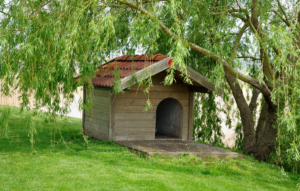
Location, Location, Location
When picking out the perfect spot to place your dog house, keep climate in mind.
Position the door so it opens away from the prevailing winds in your area. For most regions, this means facing the door toward the south or east. Place your dog house where it gets sunshine in the morning but is shaded during the hottest part of the day. Warm mornings and cooler afternoons will help your pup regulate their body temperature naturally.
Bonus points if you can keep your dog house off bare soil. A concrete pad, gravel base, or even a simple deck platform under the house will improve drainage and reduce rot over time.

Conclusion
When breaking down how to build the perfect DIY dog house step by step, the process is far less daunting than it first appears. There’s something truly special about giving your dog the same kind of love they give you every single day. Blankets, food, and toys are all wonderful, but they are temporary. Investing your time into building something that will last for years is the best way I know to return the favor. Dogs are simple creatures — they just need food, water, and a place to call home. You’ve got the first two covered. Now go build them a house they’ll love.
Save pin for later

- 5 Most Stunning Black Cat Breeds You Need to Know About - March 15, 2026
- 15 Dog Grooming Styles That Will Transform Your Pup’s Look - March 15, 2026
- 15 Signs Your Cat Is Completely and Utterly Spoiled — and You Know It - March 15, 2026