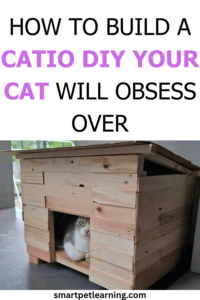
Thinking of building your own catio? Here’s what you need to know.
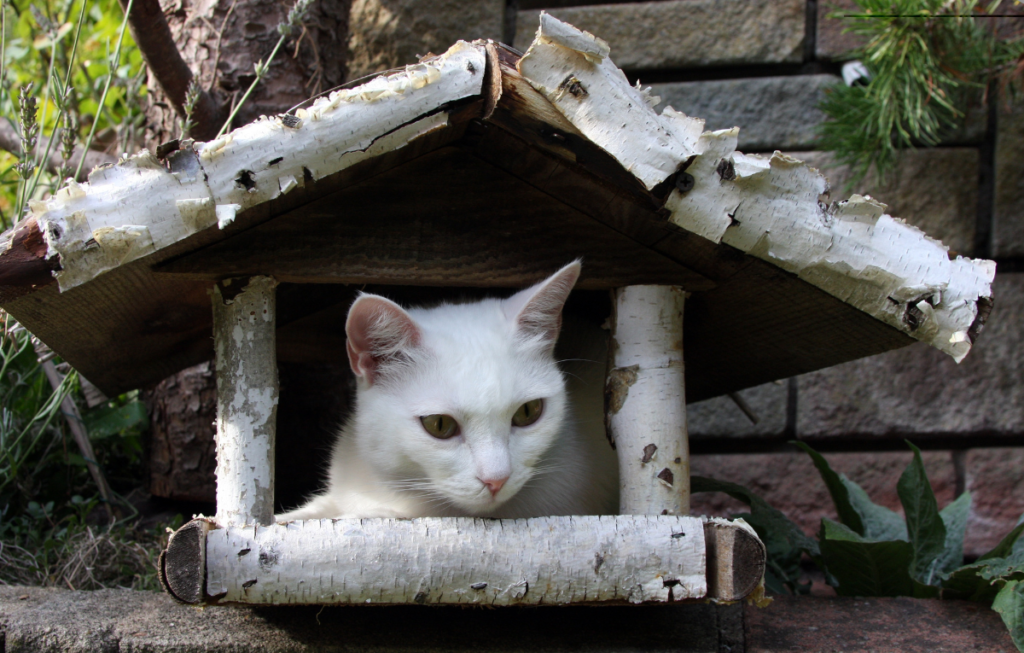
Let me start off by saying this: if you want to do something wonderful for your cat, building them a catio is it. A catio (short for “cat patio”) is an enclosure that allows your cat to experience the outdoors safely. I built mine two summers ago and witnessed my cat Miso press her entire head into the outdoors for the very first time. It was, without a doubt, one of the proudest moments I’ve experienced as a cat parent. If you want to build your cat their own safe outdoor paradise and aren’t sure where to start, I’m here to walk you through everything.
Why Every Cat Needs Their Own Private Catio
Sure, your cat may seem perfectly happy lounging inside. But imagine how exciting every single day of your life would be if you couldn’t leave your house. Birds, squirrels, gardens, windy days, sunrises and sunsets — your cat wants to experience these things just as much as you do. The problem is, it’s not safe to let them.
Even if you live in a quiet neighborhood, there are dangers outdoors. Pets can suffer from traffic injuries, predators, diseases from other animals, and more. For cats who love to roam far from home, there’s also the danger of them getting lost. By building your cat a catio, you eliminate these threats and give them a safe place to explore outdoors.
Outdoor time isn’t just enriching for your cat mentally. Fresh air and sunlight can do wonders for your cat’s mood, helping decrease levels of stress, anxiety, and boredom. If your cat engages in repetitive behavior like over-grooming or destructive scratching, access to a catio may help. Cats who paw at curtains to go outside or continually pace back and forth might calm down with somewhere of their own to retreat.
Designing the Perfect DIY Catio
Unless you’re content building the simplest frame possible and stapling some wire mesh on — you’ll want to do a little planning before getting started. Dreaming up the perfect space your cat will love starts now.
Location, location, location.
Will your catio attach to your house? On the side of a window? Will you build a freestanding coop somewhere in the yard? Each option has its perks. Catios that attach to the house or go through a window allow your cat to go outside anytime they want without you having to open a door. You can easily cut a hole in your existing screen or door for a cat door flap. An advantage of freestanding catios is that you can really put them anywhere. Plus, you don’t need to alter your house or do any window-sawing.
Size matters.
Size definitely isn’t everything, but your cat will appreciate having more space to move around. Plan for at least 6 feet tall (so you can add shelves for them to perch on) and 4 feet wide. The longer you can make it, the better.
Climate control.
Climate matters when you’re building anything for outdoor use. If you live in a place with hot summers, consider how you will provide shade. Cats love lounging in the sun, but they can overheat if there’s nowhere for them to cool off. Adding a solid panel or shade cloth over half the catio will let them choose. Areas with cold winters might want to build a little sheltered nook with a soft bed for their cat to snuggle in on nicer days.
Materials You’ll Need
There’s no need to go broke building your cat their dream home. The catio my husband and I built for Miso cost only a few hundred dollars, and we used relatively simple tools and materials. You’ll need:
For the frame:
Pressure-treated 2×4 lumber for the base and corner posts. As these will likely sit on the ground and come into contact with moisture, this material works great. Cedar is another good option — it’s naturally resistant to rot and has the bonus of smelling amazing. Standard 2×2 or 2x4s are fine for the roof framing.
For the enclosure itself:
Please, please, please do not use chicken wire. Don’t swipe that stuff out of your chicken coop and call it a day. Trust me, your cat will let you know they hate it. Chicken wire is not durable, and the holes are big enough for small animals to crawl through (not good if you have pets or wildlife you’re trying to keep out). It’s also pretty easy for adventurous cats to tear right through. Hardware cloth is tougher and more tightly woven. 19-gauge or higher should do the trick. Half-inch mesh size is standard and works great.
Fasteners, hardware, and more:
Galvanized screws. A staple gun with heavy-duty staples (these are for attaching the mesh to the frame). Corner brackets are helpful for reinforcing your frame joints. Don’t forget hinges and a sturdy latch for the door.
Things to consider (not necessary, but nice to have):
A simple asphalt roof shingle or polycarbonate panel for the roof will keep rain out and your cat dry. Adding cat shelves will give them vertical space to climb and a peek at their domain.
Building Your Catio Step by Step
Step 1. Build the frame.
You’re basically building yourself a really fancy pet enclosure, so start by cutting your wood to size and assembling the frame. For a freestanding enclosure, I highly recommend anchoring your corner posts into the ground or into concrete. If you’re attaching the catio to your house, you can attach the frame directly to your siding with lag bolts.
Step 2. Add your vertical posts and top frame.
Stand your corner posts upright and attach horizontal wood across the top to form your frame. Try to keep everything as level as possible. This makes your job WAY harder later on if your top frame is wonky.
Step 3. Attach the hardware cloth.
Carefully lay your hardware cloth over each panel of your frame and secure it with your staple gun. You can attach the mesh by stretching it across the entire frame, or do it panel by panel. I recommend doing one panel at a time so it’s easier to pull the mesh taut as you go. After you finish stapling, cover all your raw edges with a thin strip of wood (called a “furring strip”). Screw the furring strip into your frame. This prevents any sharp wire edges from poking through on the inside.
Step 4. Build the door.
Build a simple frame for your door on one side of the enclosure, then attach mesh to a smaller, separate frame for the door itself. Hang it with your hinges. Attach your latch. Bonus points if you can open your latch with one hand but your cat can’t.
Step 5. Add enrichment!
This is where you really customize the space to your cat’s preferences. Install shelving on the walls so they have multiple levels to perch on. You can DIY your own cat shelves out of thin strips of wood and bolts. Attach a sisal rope post for scratching. Consider adding a small shelf right underneath your roof framing for your cat to sit and survey their kingdom from above. Hang a cozy, weatherproof bed or hammock in a corner for them to cuddle up in while they sunbathe.
Turn Your Basic Catio Into Your Cat’s Dream Space
The great thing about DIY projects is you never really finish them. Sure, you built the catio, but now it’s time to watch your cat use it and learn what they like. Maybe your cat only uses the highest shelf — add another shelf. Maybe your cat loves the southeast corner of your yard. Move a shelf to face that direction and see if it grabs their attention.
Playing with hanging toys or adding cat-friendly plants inside is a great way to enrich the space. Many cats love catnip, cat grass, or valerian. Avoid anything toxic to cats inside the enclosure, like lilies, aloe vera, and pothos.
Performing Seasonal Safety Checks
As with any DIY project, your work isn’t done after building. There are a few basic things you should check for every few months to guarantee your catio stays safe for years to come.
Missing or stretched staples, or hardware cloth beginning to pull away from the frame. Small openings where two panels meet that a cat (or squirrel?) can slip through. Rotting wood or warping, especially on the base. Rust building up on metal pieces.
Any of these can typically be patched up easily. You’ll thank yourself for taking a few minutes to check every season.
FAQ
How much does it cost to build your own catio?
Between $150–$500 for materials. It really just depends on how big you make it and what you include. The larger you go, the more materials you will need. Keep costs down by buying all your lumber and mesh at once and avoiding “fun” extras like kitty patios.
Do I need a permit to build a catio?
It depends on where you live and how you build it. Tiny, freestanding catios usually don’t require any permits where we live. Larger structures or those attached to your house may need one.
What if they don’t like it?
Or what if they’re scared to go in at first? This is totally normal. Let them explore with the door open for a few days and try enticing them in with treats or toys. Eventually, they will come around.
Isn’t my balcony already a catio?
It sure is! Balconies are one of the most common types of catios. They simply entail enclosing the railing around your existing balcony. That way, Fluffy can enjoy it safely without worry of falling out or birds swooping down.
What plants are safe to put in my catio?
Inside your catio, you can grow cat grass, catnip, and cat-friendly herbs like valerian and rosemary. There are a few houseplants that are toxic to cats, like lilies, aloe vera, and pothos. Try to avoid these or keep them on a high shelf cats can’t reach.
Conclusion
You don’t need to be a master carpenter to build your own cat patio. You do need some basic skills and tools, and more importantly, love for your cat. Almost every cat I’ve seen react to having their own outdoor enclosure becomes happier and more engaged. Even my notoriously lazy cat Miso would rather be outside now than inside. There’s nothing like watching your cat explore their little cat paradise.
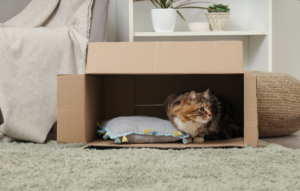
Some houses simply cannot have a catio attached to them. If this is the case for you, or you don’t have a yard, try making your cat their own DIY window catio box instead!
Save pin for later

- 5 Most Stunning Black Cat Breeds You Need to Know About - March 15, 2026
- 15 Dog Grooming Styles That Will Transform Your Pup’s Look - March 15, 2026
- 15 Signs Your Cat Is Completely and Utterly Spoiled — and You Know It - March 15, 2026